Since I like to switch things up often, and because I have succulents coming out of my ears, I thought I would put together a Spring (I can’t wait to get outside and plant) centerpiece.
It was 15 degrees this morning, and my little man was itching to get out and play in the dirt, so I figure we would combine the two and bring the dirt inside and re-pot the succulents. Then play around with it all as a centerpiece.
I brought up a bucket of planting soil and we got to work!

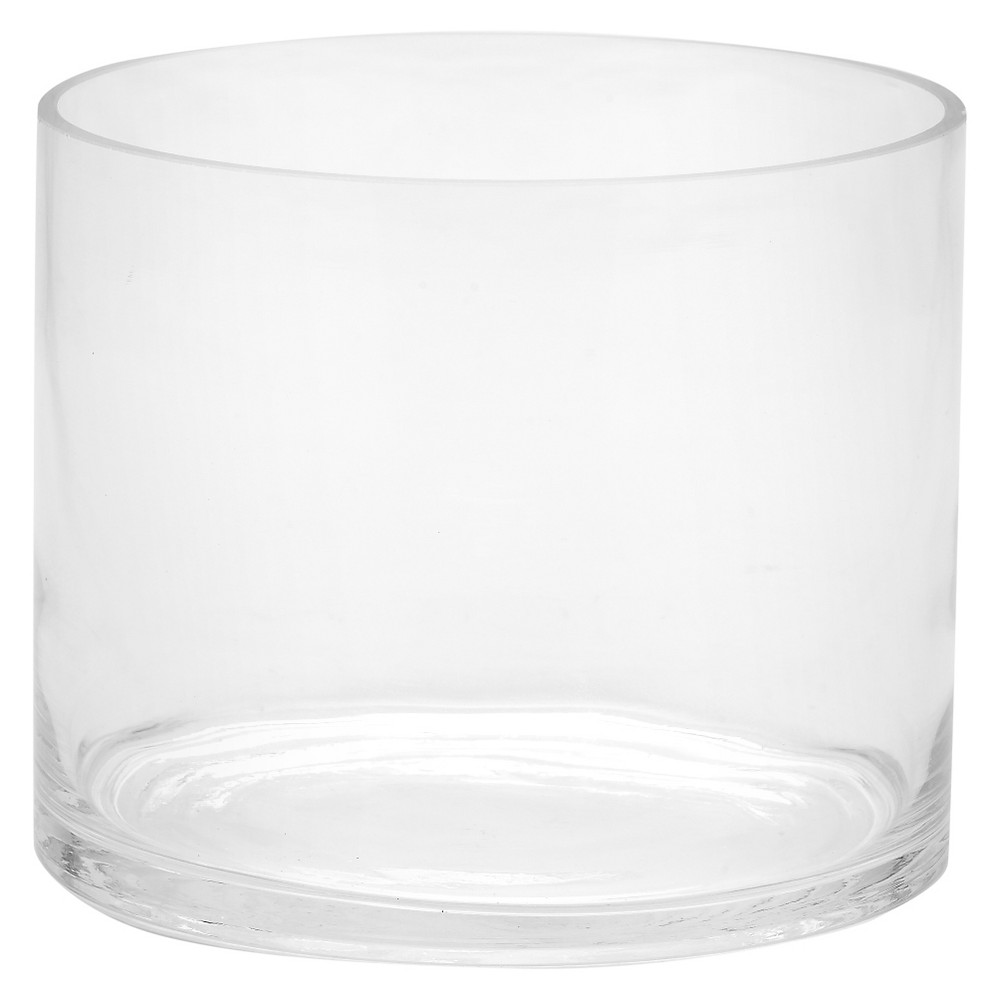
When I went to get the soil from the basement, I asked our 3 year old to get all the succulents that he could find in the house.. well he got most of them, and even a few faux one and tulips. He popped those white ones in the glass jar ❤️. I think it is safe to say that he watches me re-arrange often😂.
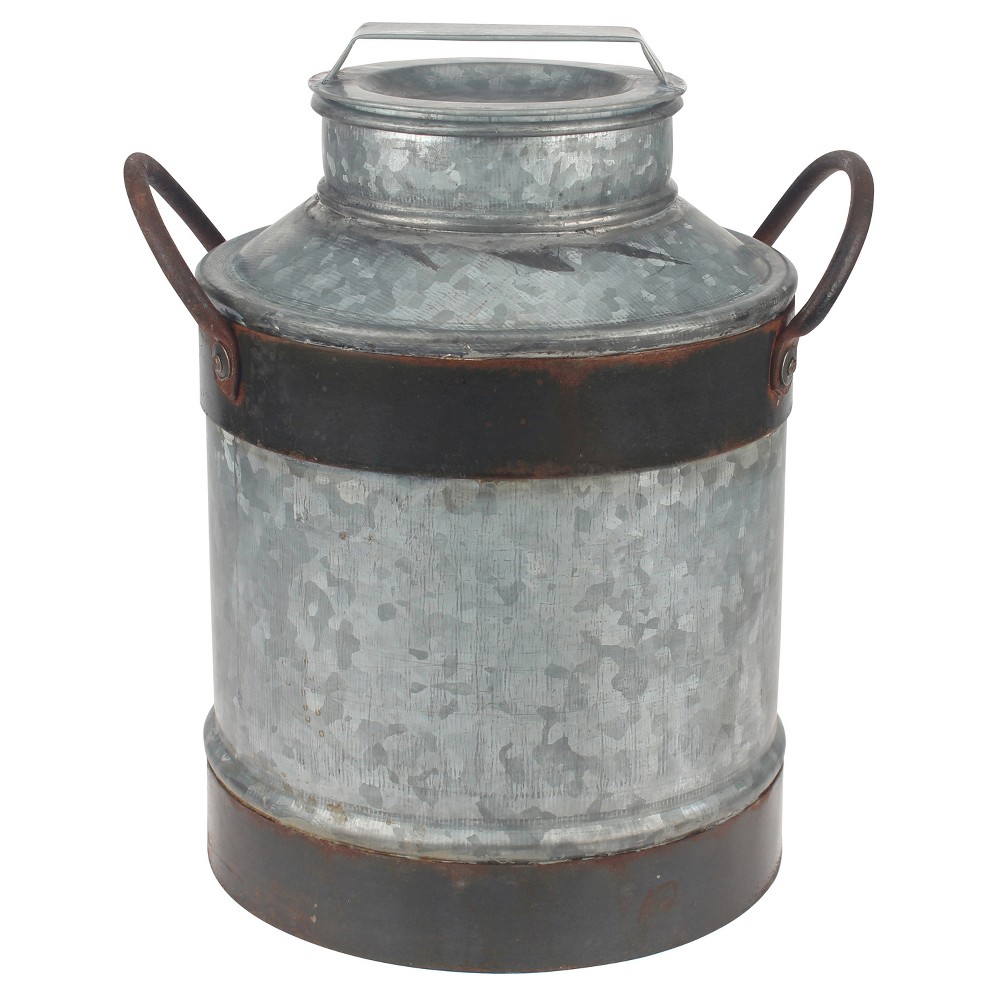
I started with a planter that I picked up at our local nursery yesterday.

If you have a planter with no holes on the bottom (for drainage) you need to add some pea stone, rocks, gravel, something to allow the water to drain from the soil.

This planter came with the plastic in it, but if you wanted to create a planter out of something you already have, or a gem you found while out junkin, you can add your own plastic liner (Ziplock bags can work for this depending on the size too!)
I filled the bucket up about 1/3 of the way with the pea stone.

Next, I filled it up with soil, but staying within the plastic liner.
While my hands were dirty, I did the same with a glass hurricane that I had already.

If you saw my stories on Instagram, you know that I have a third planter (an actual planter, so it didn’t need stones) but my little helper was using that to make “rock soup.” But then he added some faux snow, which were the noddles, and it became “Noodle Soup.”

I know what you are thinking, extremely tasty… And indeed it was!
I just stared planting and messing around with the succulents until I like what I had. I also pulled out some Terracotta pots (that my Momma gave me) and popped all the extras in them.


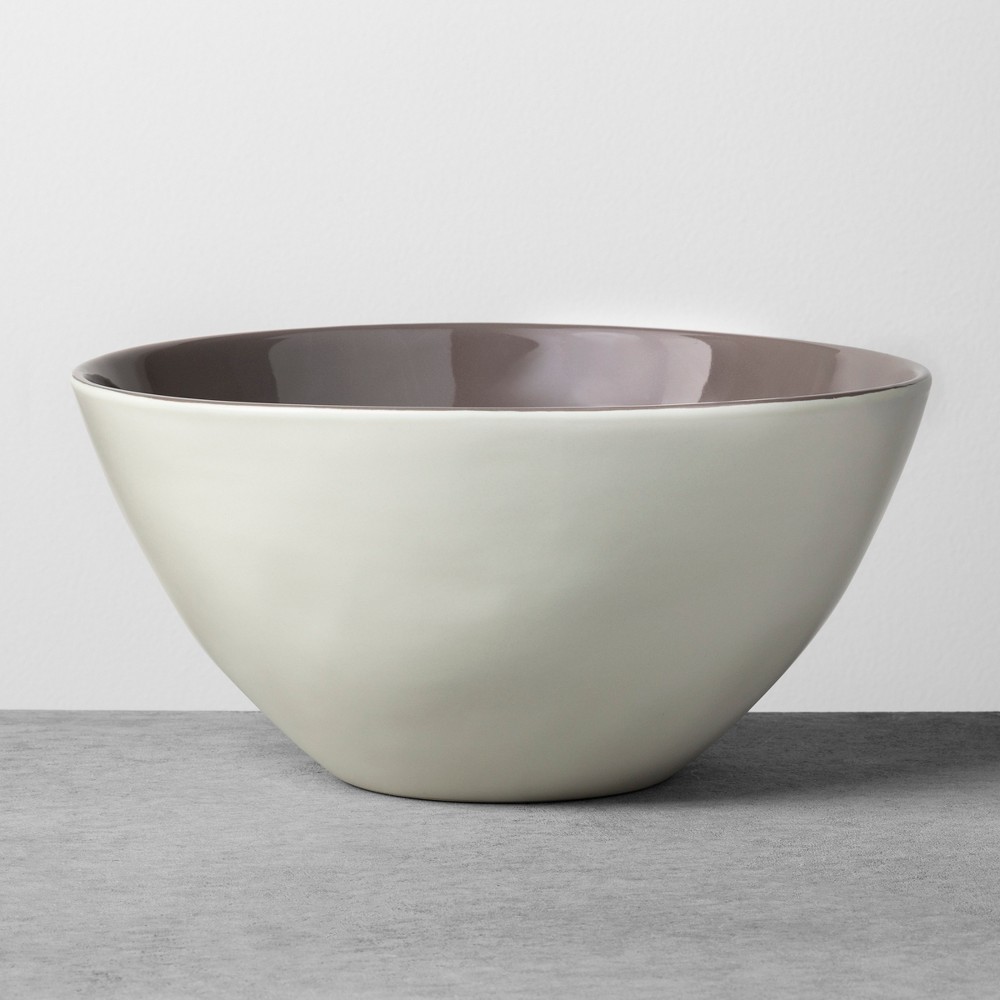
I also picked up that houseplant at the nursery, it was only $4.99. So I repotted into the “soup container” that my boy was using, and put it in a bowl at the center of the table.

Our table is square, and we need to set it for 5 every single night, but for 6 at least half the week. So I need that one end open, which makes it seem off balance to me, but this is what we have, so we are working with it.
Dinning room project list:
Paint the walls Benjamin Moore Chantilly Lace
Bleach or sand down and re-stain the top of the chairs and table top (I do not like the orange tint the stain has)
Paint the bottom of the table, the chairs and the bench white (maybe antique)

This is view from walking into the dining room from the living room. The other side of the room is the desk (which houses all our business paperwork, computer, office supplies, etc).
I think a paint job and freshening up all the black with something brighter will carry us through until we build the new house. I have dreams of a farmhouse table there. And this table… will be used in the “chill” spot, in the basement.

This last picture, reminded me that I need to swap out my farm prints for the spring/summer ones. But in my defense, we still have snow on the ground, so I call this transition, haha! I will add painting those frames white to the list too…
This girl better get out her paint brush and buy some paint!!
Click here to see the table prior to the plant overload
Thanks for stopping by to read today’s post! I appreciate all of you 🙂
XOXO
Leandra
To shop this post (and similar items), just click on the pictures below:


*This post contains affiliate links that earns OurHomeDays a small profit at no additional cost to you.